

Pi Mainnet Migration
Pi Mainnet Migration: How to Transfer Your Pi Coins Correctly – Pi Network has officially launched the Pi Mainnet Migration process, which began on March 14, 2025. This process is being gradually rolled out to Pi Network pioneers. In this guide, you’ll learn how to transfer your Pi coins correctly and ensure your migration to the Pi Mainnet is completed without delays.
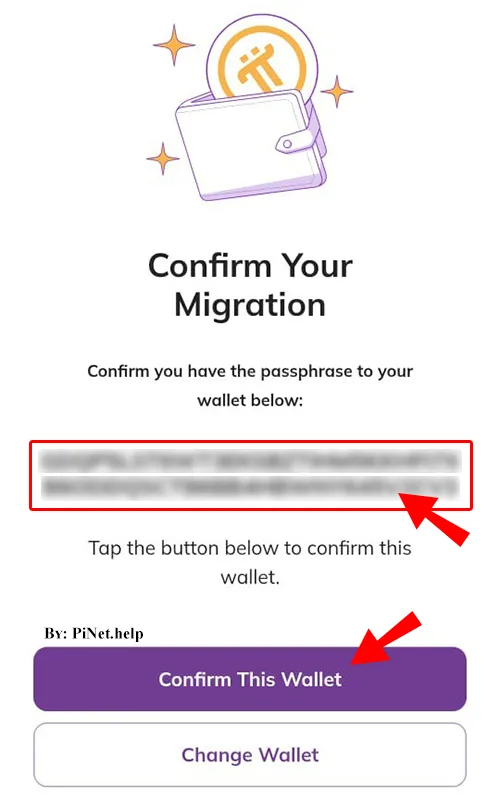
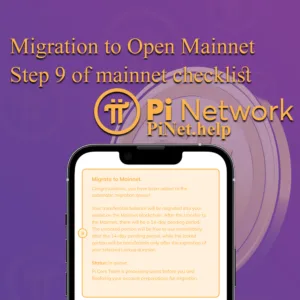
1. Confirming Migration to Pi Mainnet
When you open the Pi Network app and press the mining button, you’ll see a migration confirmation message.
- Verify that your wallet address is correct.
- Click “Confirm This Wallet” to proceed.
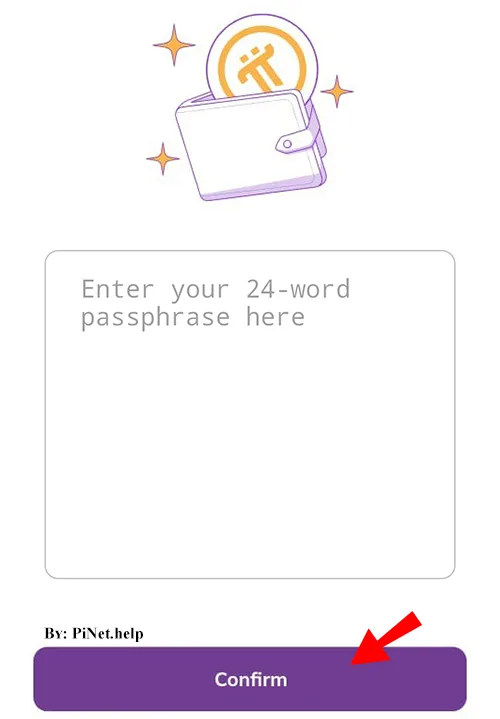
2. Verifying Your Pi Wallet
Enter your 24-word security passphrase to confirm your Pi wallet for migration.
3. Confirming Your Email Address
An email confirmation will be sent to your registered email address.
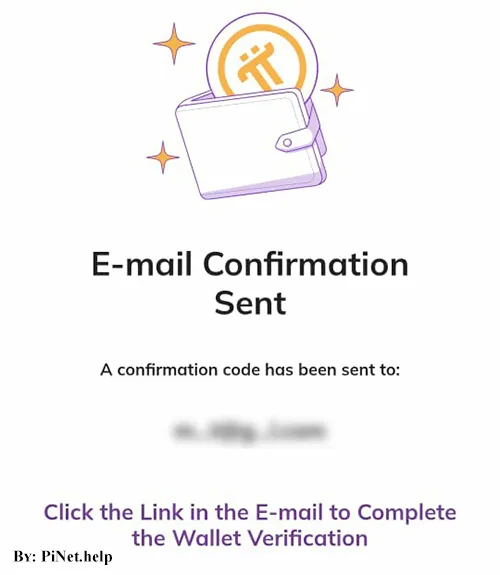
- The email might arrive in your inbox, spam, or junk folder.
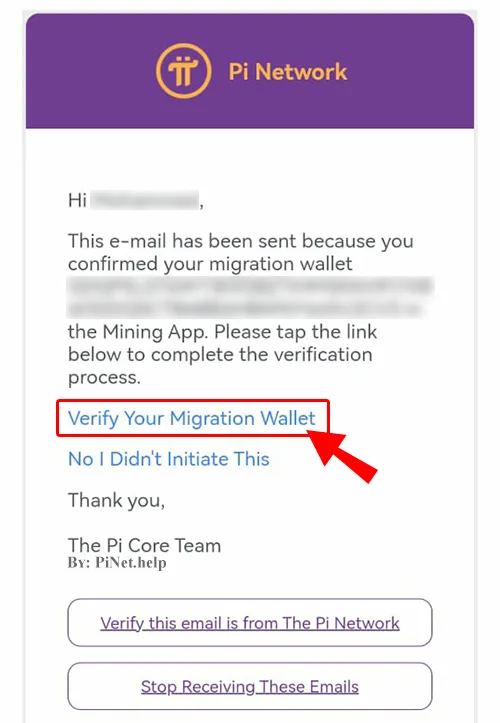
- Ensure the sender is “noreply@pi.mail” before clicking any links.
- Click “Verify Your Migration Wallet” to proceed.
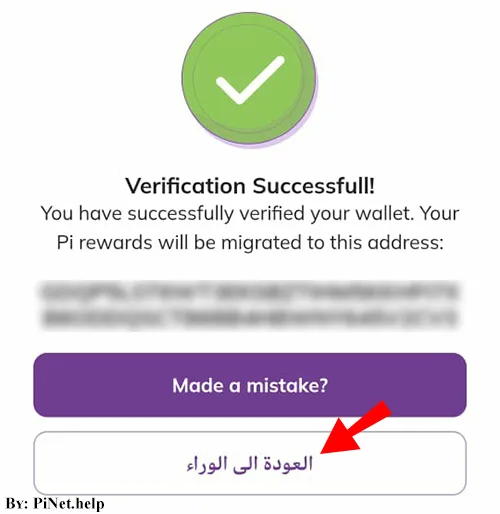
4. Migration Verification Successful
After clicking the verification link in your email, you’ll be redirected to the Pi Network app, where you’ll see a confirmation message indicating that your migration request has been successfully verified.
Click “Go Back” to continue.
5. Waiting for Migration to Complete
Once your wallet is confirmed and ready for migration, all you need to do is wait patiently. The migration process is automated and happens in batches.
- There is no fixed date or time for your migration.
- Some users may have their Pi coins transferred within a day, while others may take longer.
- Continue daily mining as usual while you wait.
Recovering Your Pi Wallet
If you lose or forget your 24-word passphrase, you must create a new Pi wallet via the Pi Browser and confirm it again.
- Complete steps 3 and 6 from the Mainnet Checklist.
- Log out of your Pi account and log in again.
- After clicking the mining button, the migration confirmation will reappear.
Important Notes:
- Pi coins stored in an old wallet cannot be recovered without the 24-word passphrase. Always keep your passphrase safe.
- Before logging out, ensure you remember your password or have access to your phone number for account recovery.
Updating Your Email for Migration
If the email shown during the Pi Mainnet migration process is incorrect:
- Check your inbox and spam folder for an email titled “Confirm Your Migration Wallet” from “noreply@pi.mail”.
- If you did not receive the email or your registered email is outdated:
- Update your email in your Pi Network profile.
- Log out and log back into your account.
- Press the mining button to trigger the migration confirmation prompt again.
Final Thoughts
Migrating your Pi coins to the Mainnet is a crucial step for Pi pioneers who want to fully utilize their holdings in the Pi ecosystem. Make sure to complete all the required steps to avoid delays.
If you have any questions about Pi Mainnet Migration or transferring your Pi coins correctly, leave a comment below or contact us through the communication channels available on our website.


7 thoughts on “Pi Mainnet Migration: How to Transfer Your Pi Coins Correctly”
I was never rewarded for helping to verify others kyc applications. I verified over 120 people and I was supposed to be rewarded in pi. Its been over a year and still says “rewards coming”. Any updates?
Dear,
Validator rewards are still in development. Be patient.
I completed kyc and all steps on checklist. My first migration was completed over a YEAR ago with a tiny number of pi. Why cant i move my transferable pi to my wallet? My checklist is all green. My profile is all verified. I dont even see a migrate button to click on. I have logged out and back in. Do we just keep waiting going on year 2?
Dear,
Second migration will happen when all Pioneers get their first migration.
I completed kyc and all steps on checklist. My first migration was completed over a YEAR ago with a tiny number of pi. Why cant i move my transferable pi to my wallet? My checklist is all green. My profile is all verified. I dont even see a migrate button to click on. I have logged out and back in.
Dear,
Second migration will happen when all Pioneers get their first migration.
Hi! I’m a Pi Pioneer since more than a year. I did KYC lot time ago and my first(and only) migration was completed. That’s way I’m confused: I don’t understand why still not migrated about 30 pi I have for months. As I mentioned before I did KYC and have my wallet with the first and only migrated pi. What’s happening? How long should I wait for the second migration?